
Airbrush Cleaning for Beginners
A lot has been written by very eminent modellers on the subject of airbrushing, and I feel the two main obstacles newcomers are put off by are paint mixing and airbrush cleaning.
A decent airbrush is a well-designed piece of equipment with fine tolerances and as such will not work well if not kept clean.
I remember buying my first airbrush at a Warley exhibition but it was 2 years later before a coaching session by Fred Hempsall, of NG Society fame, persuaded me to “have a go”.
So if you are one of those reluctant modellers you are not alone.
I always thin enamel paint with cellulose thinners which is bought from car parts shops (go for the least bloom) for approximately £17 for 5 litres. I also use this for cleaning & flushing & because I buy in bulk I do not need to skimp on the process. Cleaning should commence immediately at the end of each session or between colours. Paint that has been allowed to thoroughly dry can be very difficult to remove. The cleaning methods described are meant as a guide, but it is not an exhaustive list & other sequences & or techniques may work equally well.
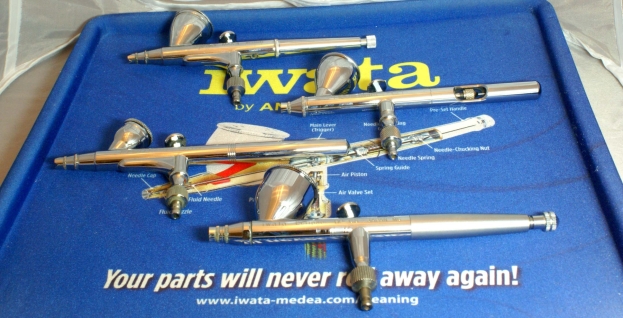
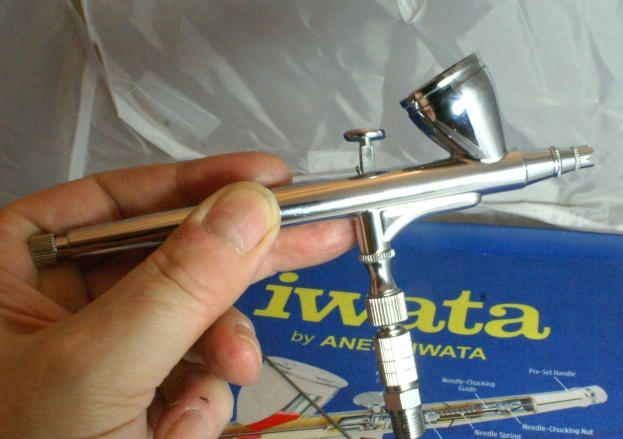
Here are 4 airbrushes I commonly use, a Sparmax Max4, Premi-Air G5, Iwata for Neo CN and an Iwata Eclipse. All are “double action” & basically similar in design but the build quality differs, however all are excellent choices if you are starting out. Prices range from £50 - £180.
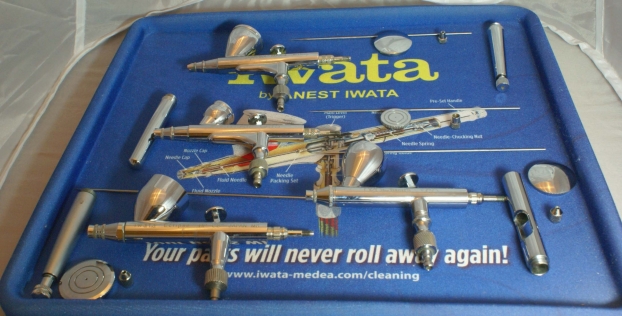
The same airbrushes with the body split & the needle removed, as you can see the basic principle is the same in all 4.
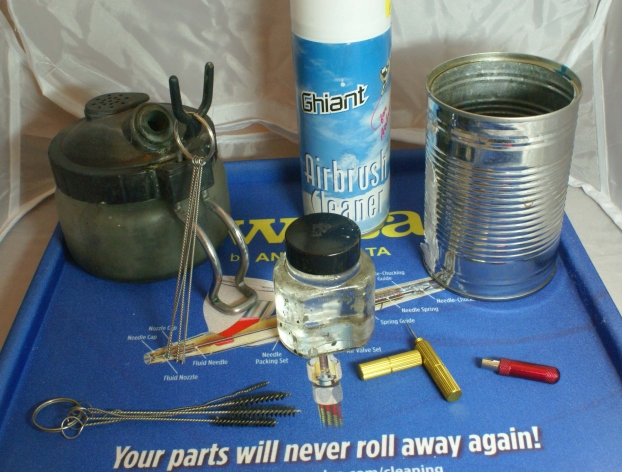
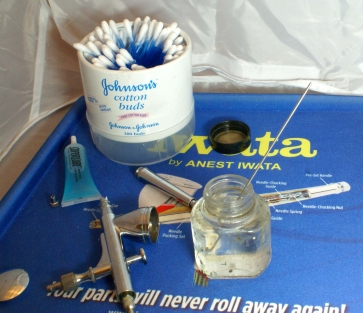
My essentials for cleaning, from left to right: Spray pot with a set of reamers, pressurised airbrush cleaner, old baked bean tin for surplus paint/liquids, another set of reamers with bristles, cellulose thinners, nozzle cleaner & nozzle remover.
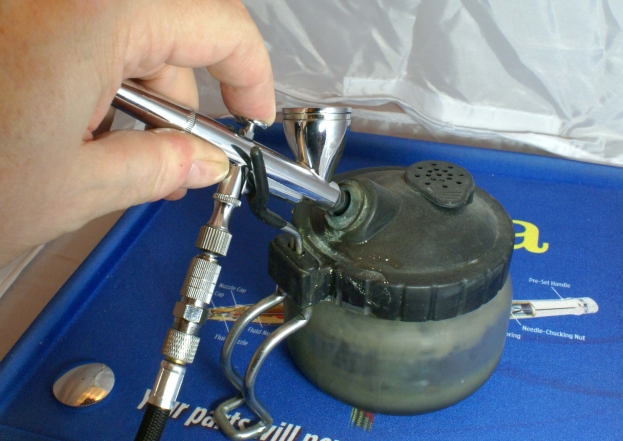
After completion of your session, or if you are changing colours, flush the remains of the paint by adding cellulose thinners to the cup of the airbrush. Continue until the spray is virtually colourless.
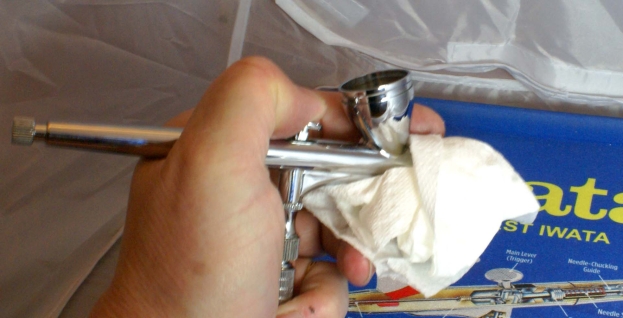
Next fill the cup again but this time cover the end of the nozzle with kitchen towel, you should see bubbles forming in the cup. This will remove most of the residue in the nozzle & the internal chamber. Do not spray this through the airbrush but tip this away into the can.
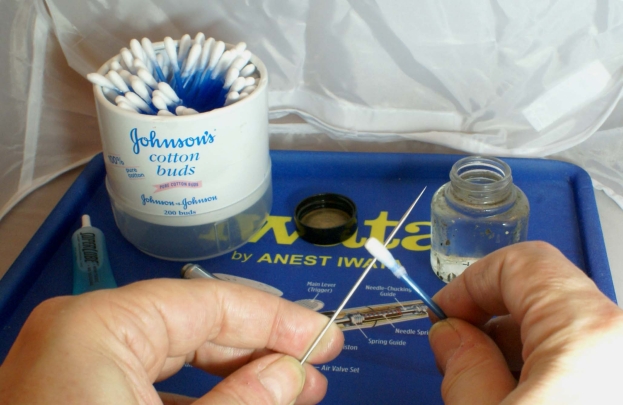
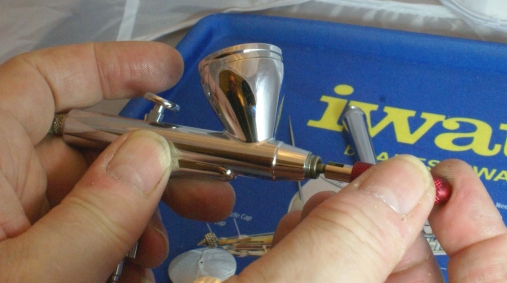
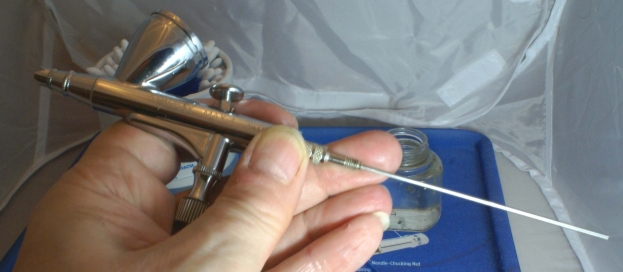
Carefully remove the back of the body, the needle locking nut & then the needle. Clean the needle in a cotton bud soaked in cellulose working down the body from below the needle & then upwards towards the needle tip.
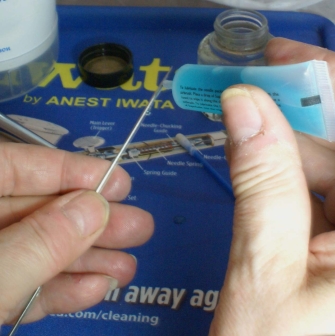
Soak the needle, tip down, in a jar of cellulose whilst cleaning the remainder of the airbrush.
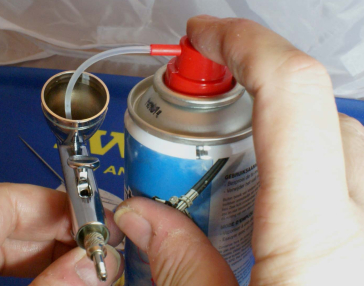
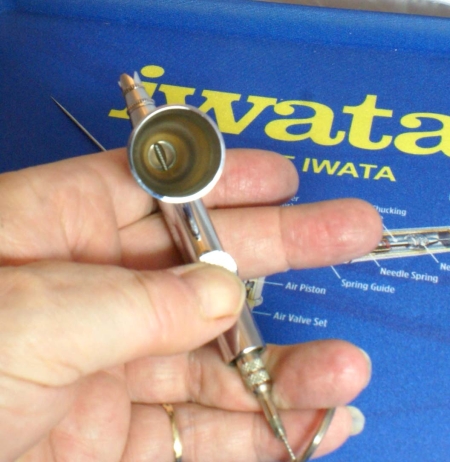
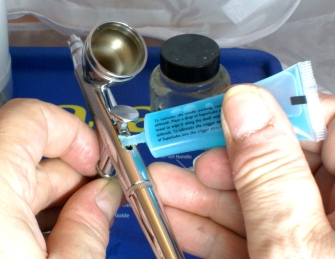
Take the pressurised air brush cleaner & place the small pipe inside the cup facing the exit point of the airbrush (where the needle used to be). The liquid should exit through the nozzle at the front of the airbrush.
Take one of the reamers & select a size that will easily insert into the rear of the airbrush at the needle entry point. Ensure the reamer passes past the trigger & into the cup, add some cellulose into the cup & carefully pass the reamer back & forth to dislodge any stubborn paint that may have dried.
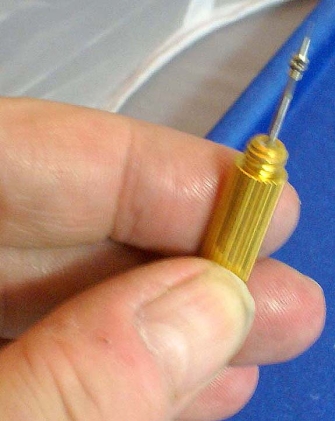
Remove the nozzle cover & using the nozzle wrench; carefully remove the nozzle from the airbrush. Please take great care as the needle & the nozzle can be replaced if damaged but at a cost.
The nozzle can be cleaned by using the small needle on the nozzle cleaner. This will pass through the hole & remove any dried paint. Please note it should not be necessary to clean the nozzle each time if your cleaning regime is effective.
We are now ready to re-assemble the airbrush. The needle is removed from the cellulose & given a coating of “Super Lube” a special grease mixture which assists the needle to travel easily within the airbrush.
The needle is carefully inserted back into the airbrush; only slight pressure should be required, checking to ensure it has passed through the trigger. Add the locking nut & finger tighten. This ensures the needle moves with the trigger. The rear body assembly can now be added.
Add a drop of Super Lube to the trigger orifice this will help maintain the trigger piston to the air valve.
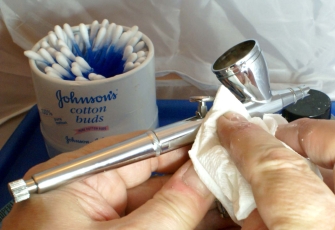
Clean the body with a piece of kitchen towel soaked in cellulose & dry off.
Ensure the cup cap is cleaned if it has been used ensuring the hole in the top is clear. Add cellulose to the cup & check the spray pattern is as it should be.
A very useful item is a “Quick release valve” which dispenses with the need to unscrew the air line from the airbrush for cleaning.
Contacts/Suppliers
The airbrush company: https://www.airbrushes.com/ tel. +44 (0)1903 767 800.
Eileens Emporium: https://eileensemporium.com/ tel. +44 (0)1531 828009.
Both can supply Sparmax, Neo and Iwata airbrushes, spare parts & compressors and are highly recommended.
If you are a model railway show attendee Eileens Emporium & Hobby Holidays (who stock all sorts of weathering and painting equipment) are regular participants at shows throughout the year.